

Hi! I'm here to share a mini album with you today. I had a vision in mind after searching and searching handmade mini books and finally made it into a reality. I am saddened that my boy is turning 9 really soon. Too soon. I wanted to list out some of my favorite things about him, written in a letter type form so he could have it always.

I started by cutting several papers 4 x 10. I wanted the pages of my album to be 4x5. Since I was using textured cardstock, I scored them and folded them textured side in. Create the number of pages you want in your album. Pretty much making a bunch of cards.
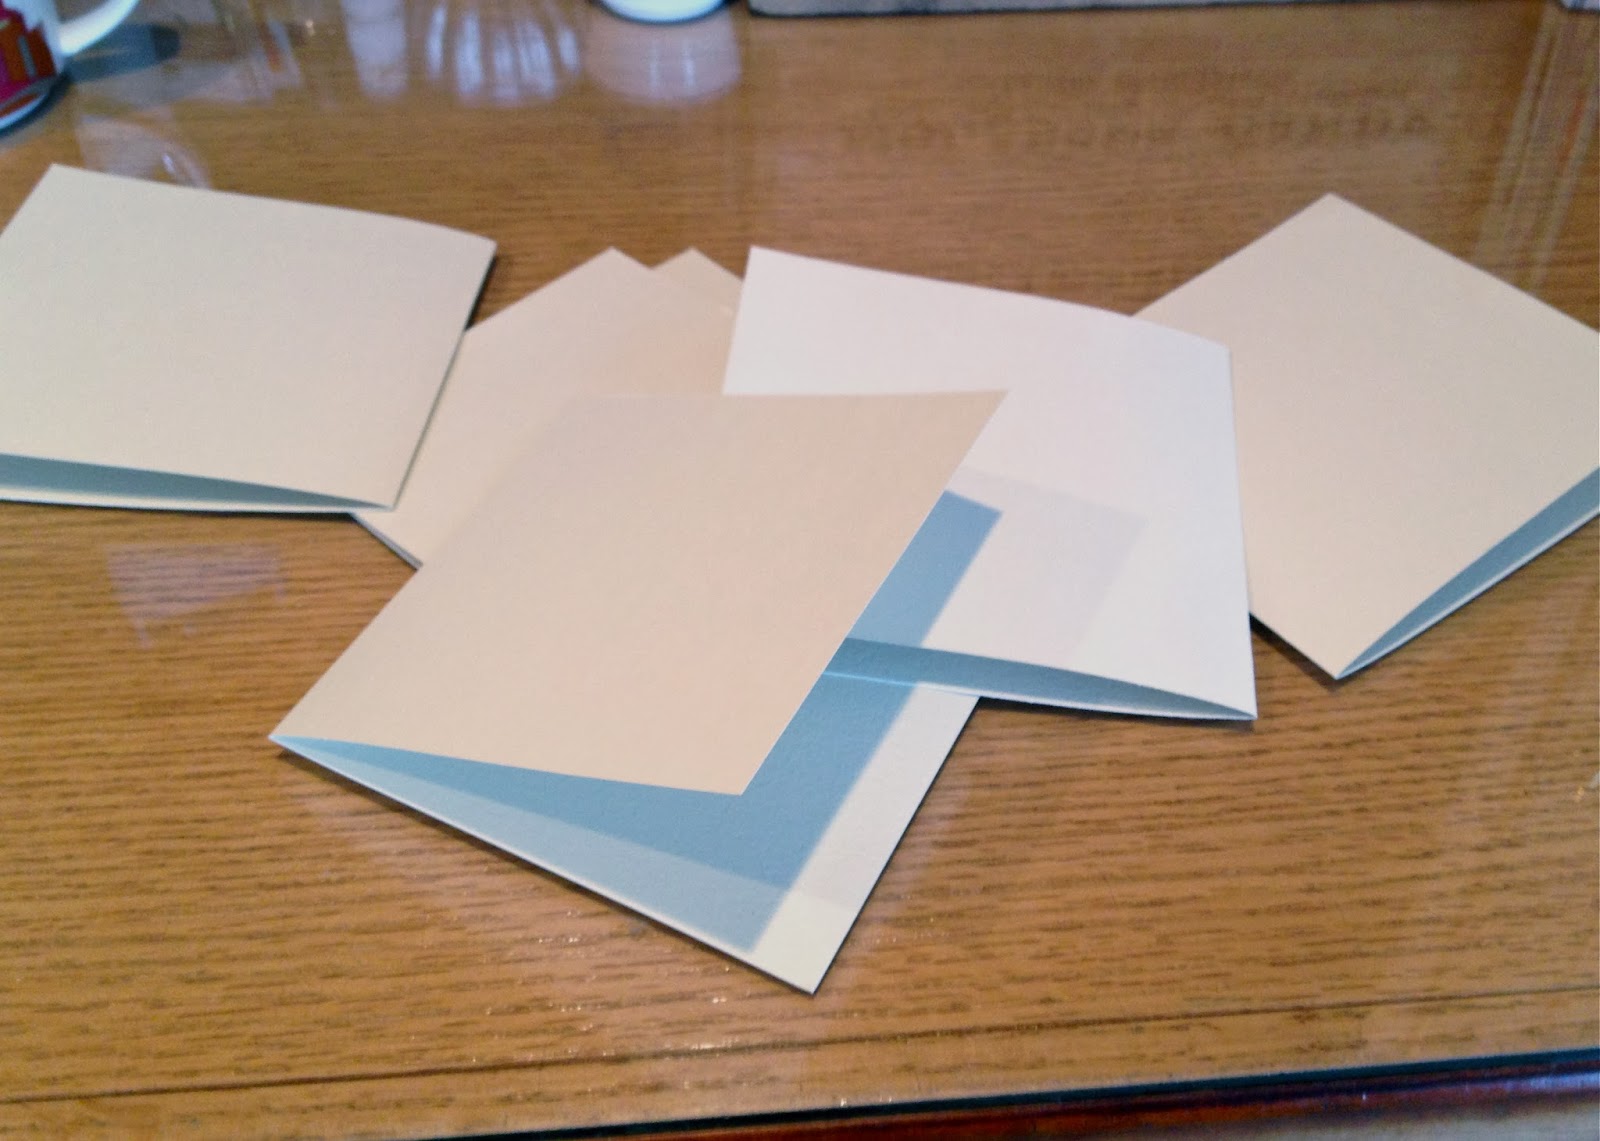
I placed them back to back with strong adhesive.

Added some machine stitching to ensure the the security of my pages, since it will be in little hands:o)

I added Lily Bee Design patterned paper to the front of my mini and then added a section to my spine and sewed this in place as well to ensure stability.

Now time for decorating!

Remove the clothespin to gain access into this sentimental journey.
If you look at the inside of my book. All of my pictures are printed 3x4. I did leave a white border around my photos to help contrast against the patterned paper. I added a doily to most pages, Studio Calico large gray tags with my journaling, patterned paper 4 3/4 x 4 1/2 and on many pages, a 2x 4 3/4 strip of paper. After adding a title (cut with my Cameo), machine sewing and a few coordinating embellishments, you have yourself a simple treasure. Be careful in your placement of your bulky embellishments, make sure they are not repeatedly in the same spot, it will get too bulky.


Thank you for taking a look.
Mary-Ann
No comments:
Post a Comment